
How to Create a Photography Website with Squarespace in 5 Steps
So, you've been seriously getting into photography lately and you're ready to take the next step - creating your own website to showcase your work and get your name out there. But the idea of building a website sounds super intimidating and technical, right? Well, have no fear! I'm going to walk you through how I created my photography website using Squarespace, and trust me, if I can do it, anyone can.
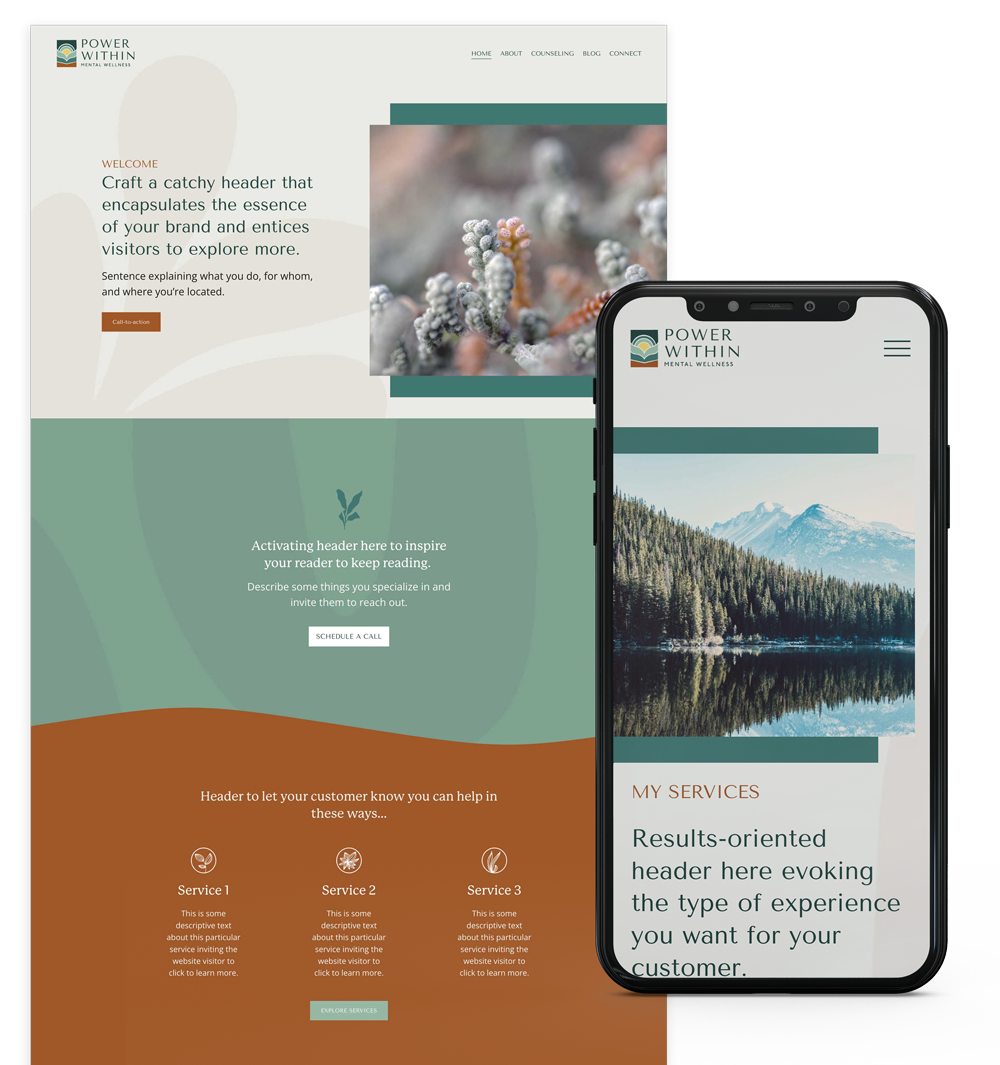
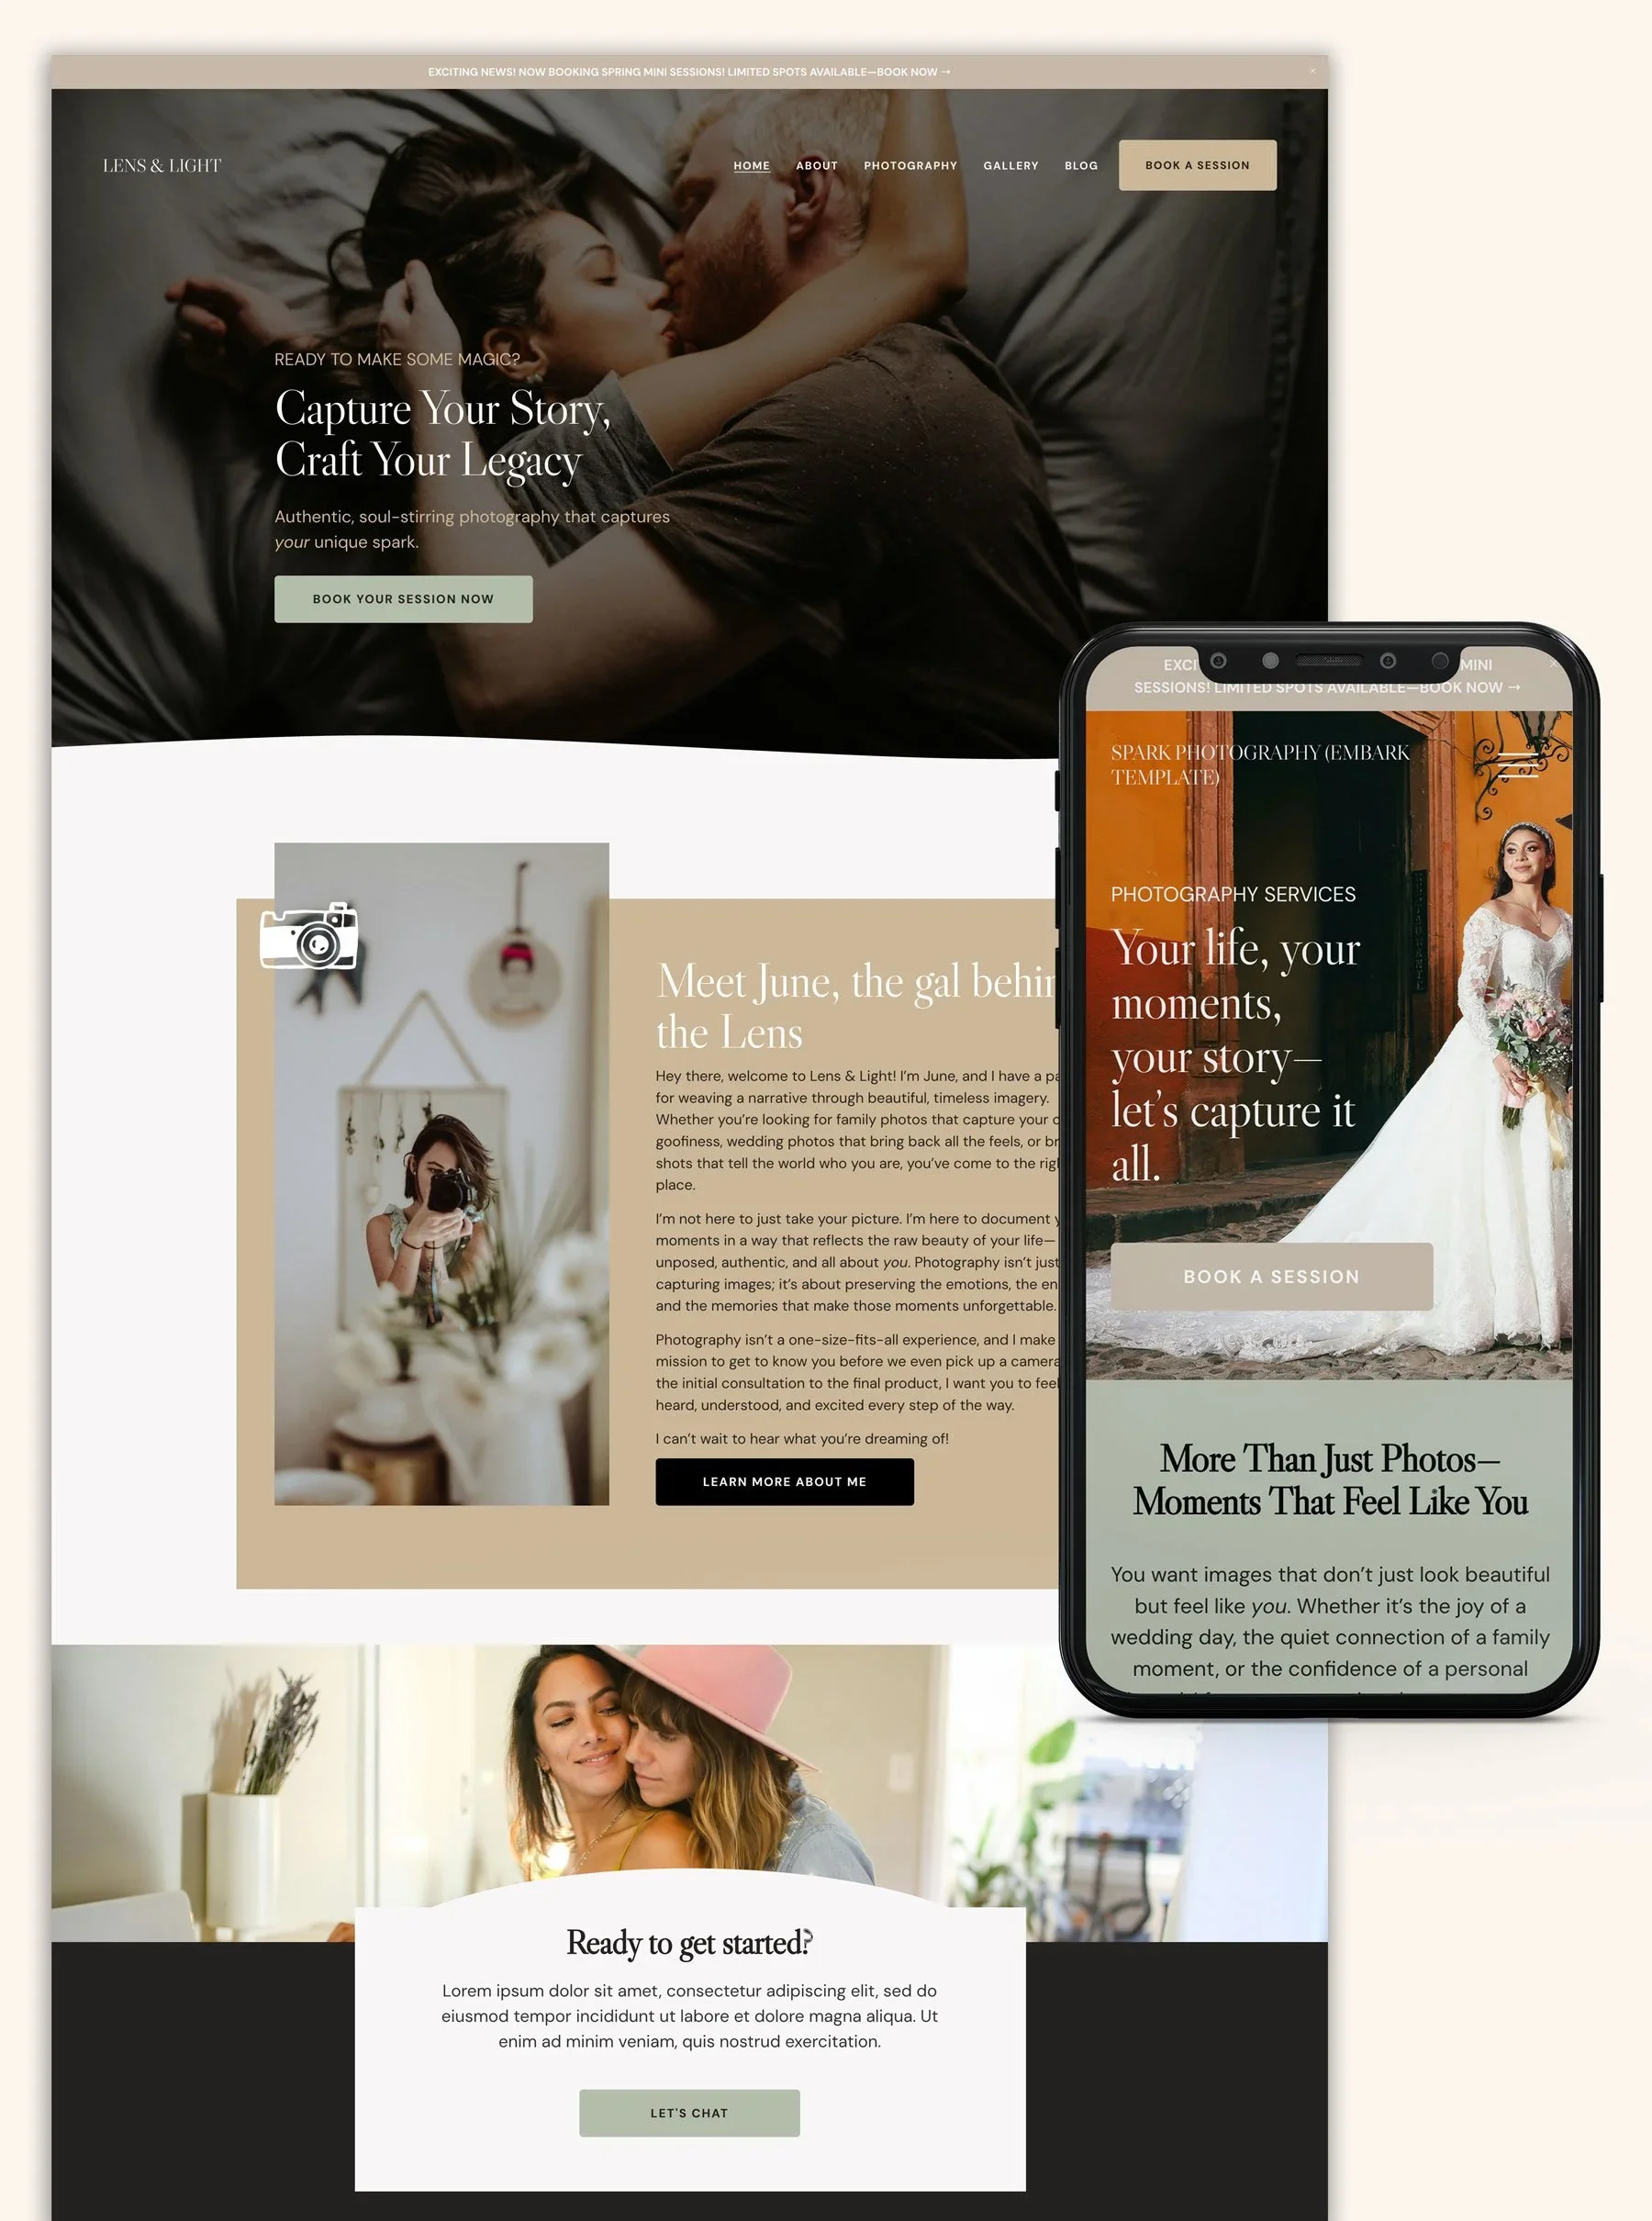
Need some inspiration?
Here's a selection of beautiful and diverse Squarespace-powered photography sites, along with what makes each special.
Step 1: Plan Your Site
Before you start building, take a little time to plan out your site's purpose and intentions. Ask yourself questions like:
What are my goals for this site? (Showcase portfolio, sell prints, get hired for shoots etc.)
Who is my target audience?
What impression do I want to give with the look and feel?
Having clear intentions will make it easier to choose the right template and organize your content in a way that achieves your goals. I knew I wanted a clean, professional portfolio site to hopefully book more gigs, so I planned for an "About" page to tell my story, easy gallery integrations, and a "Contact" form.
This is also why templates are great because you don’t have to start from a blank slate. A good photography website template will give you a framework for the content you’ll need.
Take some time to map out what core pages and sections you want, such as:
About/Bio

This is where you'll share your photography story, background, specialities and what makes you unique. Make it personal!
Read more on how to write an about page
Services
What types of photography do you offer? Detail out your different services like portraits, weddings, commercial projects etc.
How to write a services page for creative professionals
Pricing
Potential clients will want to see an idea of your rate structure. You can list package details and pricing here.
Tips for photographers on building a strong pricing page
Portfolio/Gallery
Of course, you'll want an impactful gallery area to showcase your best work! Decide how you want to organize it by categories, projects, etc.
Other Potential Sections:
FAQ
Gear/What I Shoot With
Client Raves/Testimonials
Blog
When you've outlined all the content you want, it's easy to add new pages and sections in Squarespace using the + button and drag-and-drop builder.
Step 2: Choose Your Template
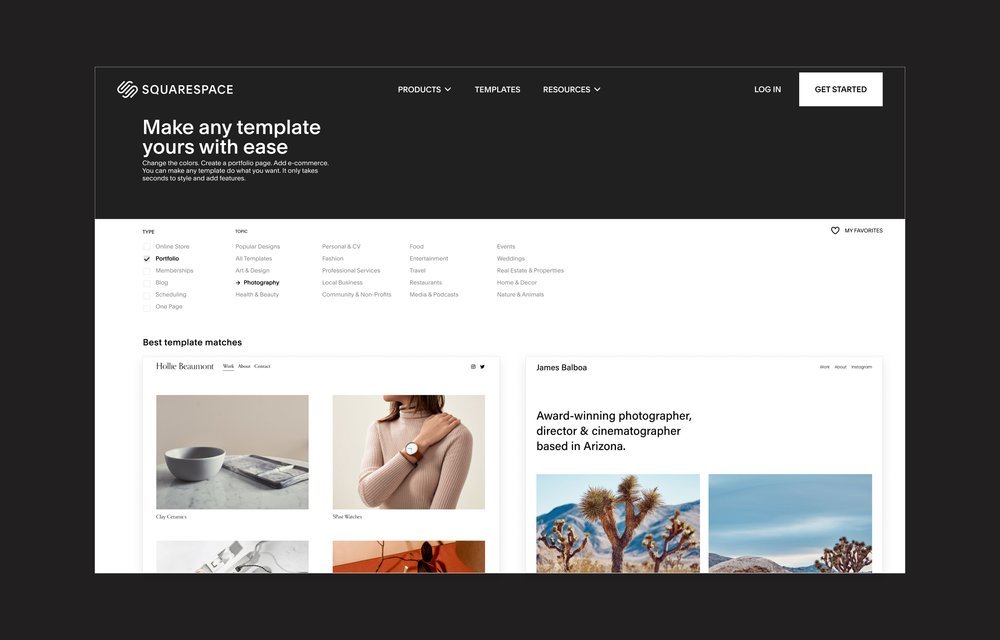
Head to www.squarespace.com and click "Get Started". Sign up for the free 14-day trial - no credit card required upfront. This will let you build your entire site risk-free before deciding if you want to upgrade to a paid plan.
Once you've signed up, you'll be prompted to choose a design template for your site. Squarespace has tons of gorgeous options, with many templates designed specifically for photographers' needs. Spend some time clicking through and exploring the different styles.
I ultimately went with the "Reseeda" template because I loved the clean, minimalist layout and the way it automatically optimized images for maximum impact. But browse until you find the perfect design to fit your vibe.
More Resources: The Best Squarespace templates for photographers
Step 3: Customize Your Site
Take advantage of the built-in styling options to tweak fonts, colors, backgrounds and more to fit your brand.
Take advantage of the built-in styling options to tweak fonts, colors, backgrounds and more to create a cohesive, on-brand look.
Choosing Fonts

In the "Design" section of your Squarespace editor, you can easily explore and change up the font pairings used throughout your site. Squarespace provides a nice selection of clean, modern font options.
You may want to use one primary font for all body text, with a complementary accent font for headings, menu items, etc. Play around with different pairings until you find a combo that fits your photography brand's vibe.
For example, a pairing like Source Sans Pro for paragraph text with a more stylized serif font like Libre Baskerville for titles can look very professional. Or go totally modern with Montserrat and Raleway. You can also go fully custom and add your own fonts.
Setting Color Palette
Your site's color palette is also fully customizable to your preferences. The "Color" menu lets you adjust the base colors used for:
Body Text
Headings
Navigation Links
Backgrounds
Buttons & Calls-to-Action
And more
Think about the overall mood you want to convey. A clean white background with pops of a bright, vibrant accent color can make your photos really stand out. Or go for an elegant, muted palette with deeper shades.
You can always save swatches of the specific HEX color codes you want to reference and reuse them throughout.
Consistent typography and color use goes a long way in making your Squarespace site look cohesive and professional. But don't be afraid to experiment and customize these design elements to create a truly distinctive, on-brand look!
Step 4: Optimize your Images
While your photography portfolio is the star of the show, loading large, unoptimized image files can really slow down your website. No one wants to wait forever for pages to load! Optimizing your images for web is crucial, especially for photography sites.
Start With High-Quality
Sources It's always best to begin with high-resolution photos, at least 300 DPI/PPI. This gives you crisp, detailed source files to work with. Professional photographers should already be shooting in RAW format and editing in programs like Lightroom or Photoshop.
Resize for Web
Once you have your final edited photos, you'll want to resize them for web. Squarespace recommends uploading images between 1500-2500 pixels wide. This ensures they still look sharp when resized responsively across devices.
Use Compression
Even after resizing, image file sizes may still be quite large. Using compression can drastically reduce file sizes for faster page load times. Save images as compressed JPEGs - you can crank JPG compression up to 60-70% with minimal quality loss.
There are also great compression tools like ImageOptim (Mac) and JPEGMini that can further optimize file sizes. For Squarespace users, the TinyIMG extension will automatically compress and optimize images on upload.
Image Color Profiles
Another key setting is using the correct color profile. While print photos use CMYK, web images need RGB color mode with the sRGB color profile to display accurately in browsers.
Step 5: Add Scheduling Functionality
If you plan to book clients for photography sessions through your new website, integrating online scheduling is a must. It saves you tons of back-and-forth emailing when people can just book times seamlessly online.
Squarespace makes this easy by allowing you to embed a scheduling tool like Acuity right onto your site. Here's how:
Sign up for an Acuity account at acuityscheduling.com and get your scheduling calendar set up just how you want it.
In your Squarespace editor, click the "+" button to add a new "Code" section
Copy the embed code from Acuity
Paste that embed code into the new "Code" section on your Squarespace page
Just like that, your online booking system is live! You can make this section its own dedicated "Scheduling" page, or embed it on your "Contact" page.
With Acuity embedded, clients can view your availability and book times right on your website without all the tedious email ping-pong. It streamlines everything and gives you a big professional boost.
Step 5: Publish Your Site
Once your content is loaded and you've got your site looking perfect, it's time to take it live! If you need a new domain name, Squarespace makes it super easy to purchase one through their platform.
When you're ready, just click "Publish" and do one last look-over. If everything checks out, your shiny new photography website is officially live! share that URL with the world.
Next Steps
Level up your website with plugins and integrations for photographers
Optimizing your photography website for search requires a few more extra steps that you definitely want to take if you expect to be found on Google.
Look into different CRM options to better manage your business
FAQS
Q: How much does it cost to create photography portfolio with Squarespace?
A: Squarespace Pricing starts at $16/mo if you pay annually.
147